Exercise 0: Prerequisites
Before you start the VS Code exercises, you need to get everything ready. You’ll create your own copy of the Tailspin Toys repository, spin up a codespace to work in, and confirm GitHub Copilot Chat is up and running in your editor.
Setting up the lab repository
Section titled “Setting up the lab repository”To create a copy of the repository for the code you’ll create, you’ll make an instance from the template. The new instance will contain all of the necessary files for the lab, and you’ll use it as you work through the exercises.
-
In a new browser window, navigate to the GitHub repository for this lab:
https://github.com/github-samples/tailspin-toys. -
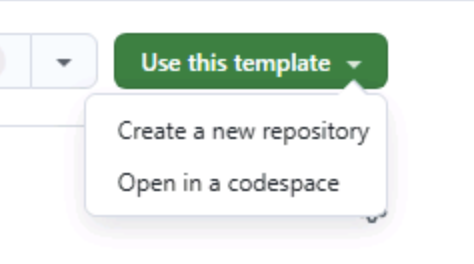
Create your own copy of the repository by selecting the Use this template button on the lab repository page. Then select Create a new repository.
-
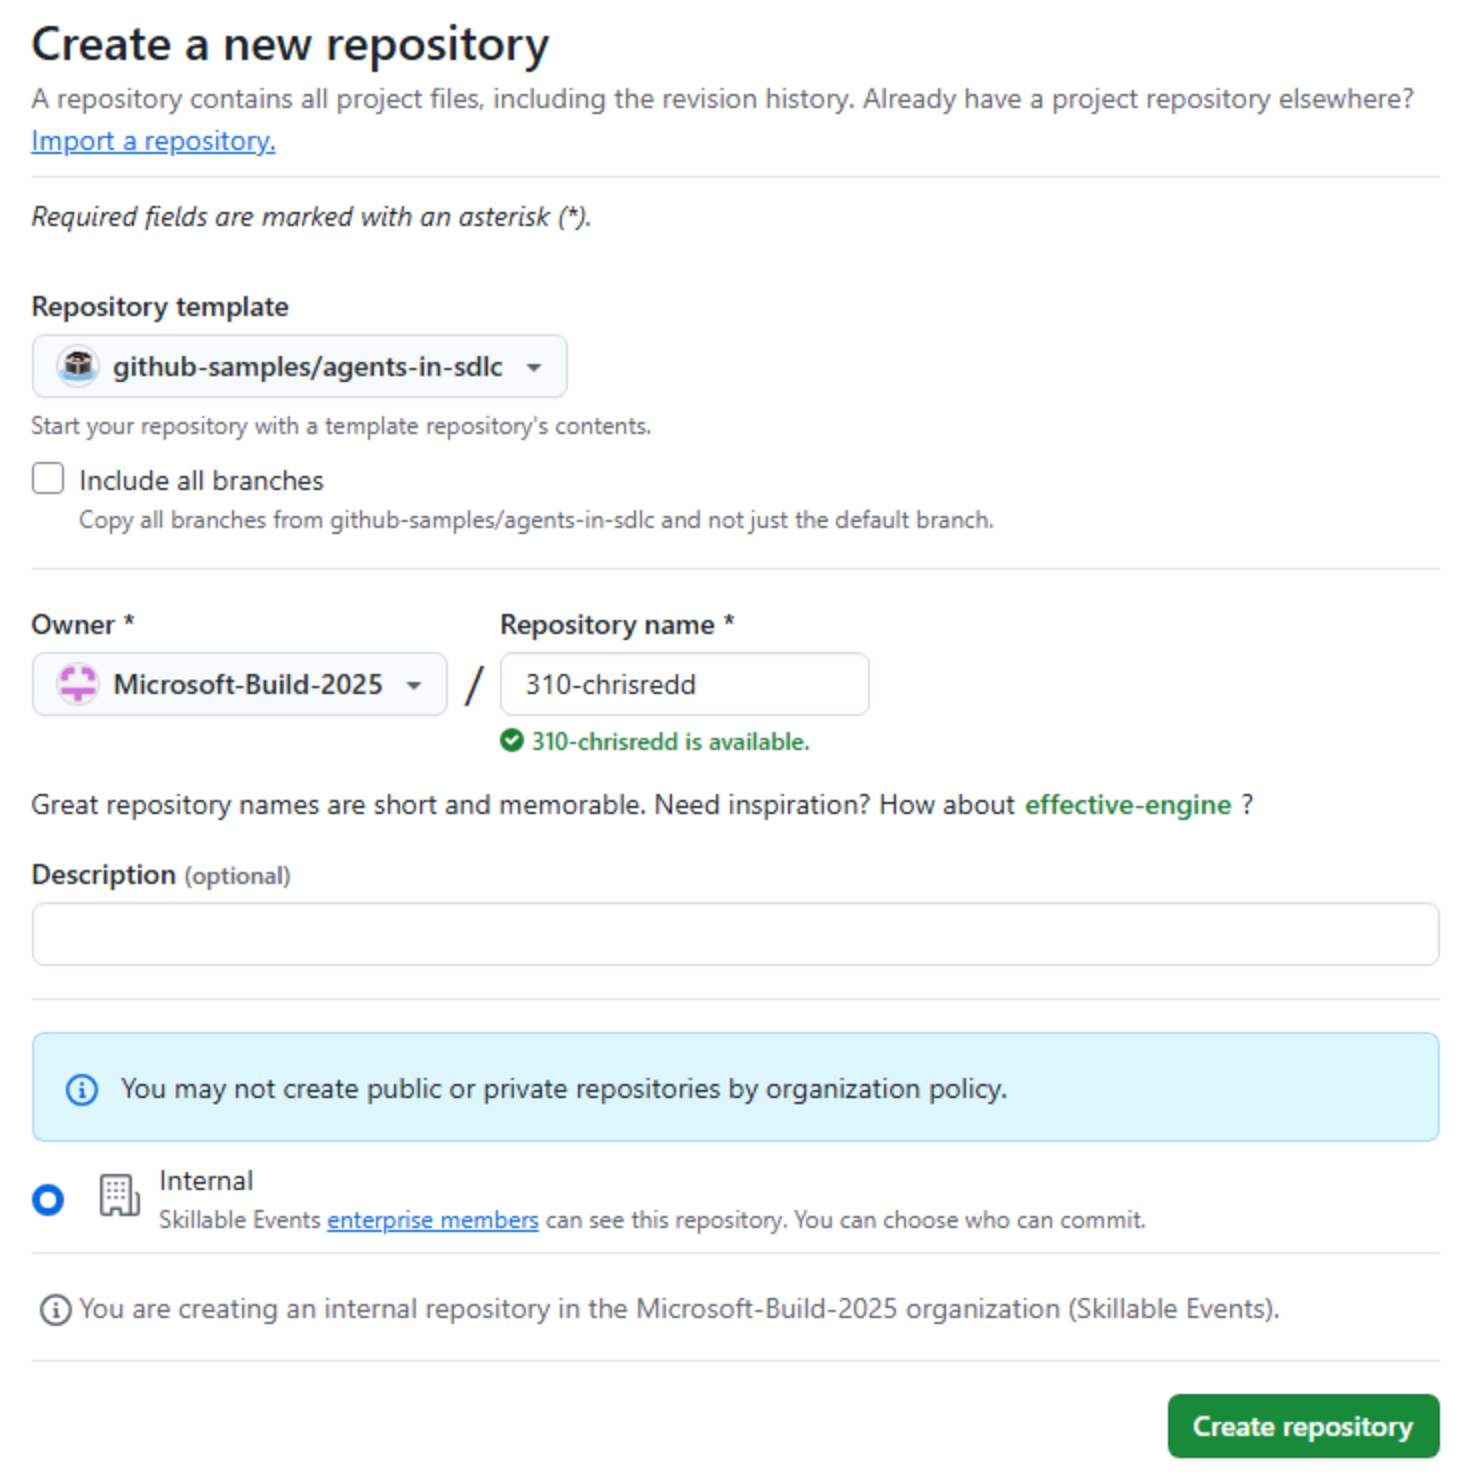
If you are completing the workshop as part of an event being led by GitHub or Microsoft, follow the instructions provided by the mentors. Otherwise, you can create the new repository in an organization where you have access to GitHub Copilot.
-
Make a note of the repository path you created (organization-or-user-name/repository-name), as you will be referring to this later in the lab.
Creating a codespace
Section titled “Creating a codespace”Next up, you’ll use a codespace to complete the lab exercises.
GitHub Codespaces are a cloud-based development environment that allows you to write, run, and debug code directly in your browser. It provides a fully-featured IDE with support for multiple programming languages, extensions, and tools.
-
Navigate to your newly created repository.
-
Select the green Code button.

-
Select the Codespaces tab and select the + button to create a new Codespace.
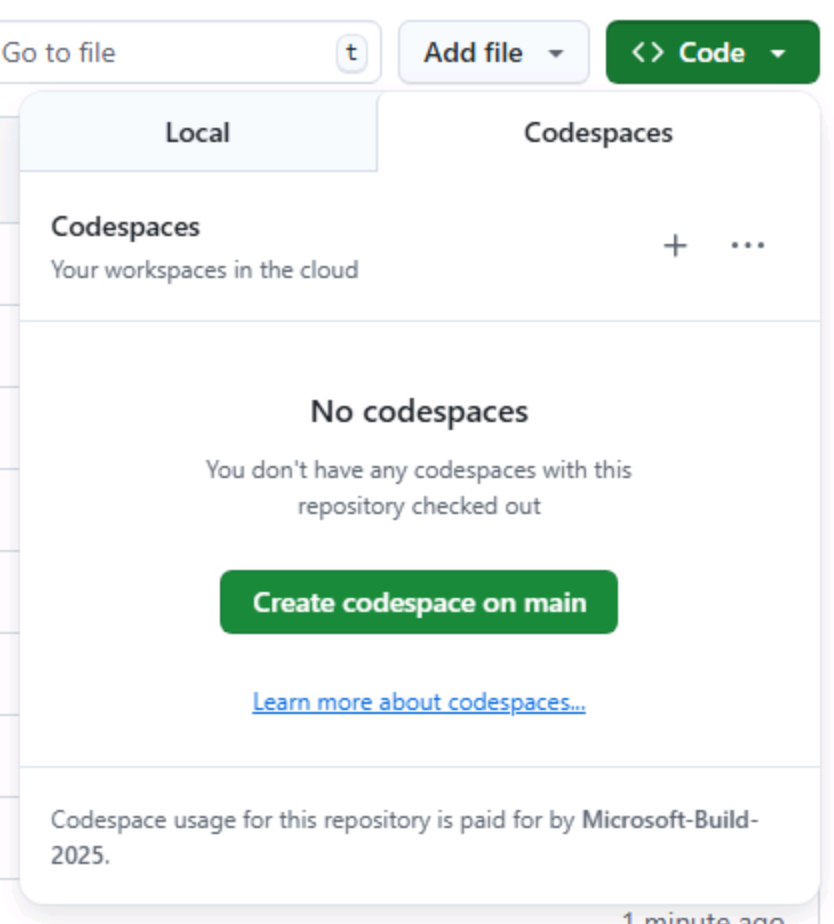
The creation of the codespace will take several minutes, although it’s still far quicker than having to manually install all the services! That said, you can use this time to explore other features of GitHub Copilot, which we’ll turn your attention to next.
Using GitHub Copilot Chat and agent mode
Section titled “Using GitHub Copilot Chat and agent mode”To access GitHub Copilot Chat agent mode, you need to have the GitHub Copilot Chat extension installed in your IDE, which should already be the case if you are using a GitHub Codespace.
Once you have the extension installed, you may need to authenticate with your GitHub account to enable it.
-
Return to your codespace.
-
If you don’t already see Copilot Chat on the right side of your editor, select the Copilot Chat icon at the top of your codespace.
-
Type a message like “Hello world” in the Copilot Chat window and press enter. This should activate Copilot Chat.
-
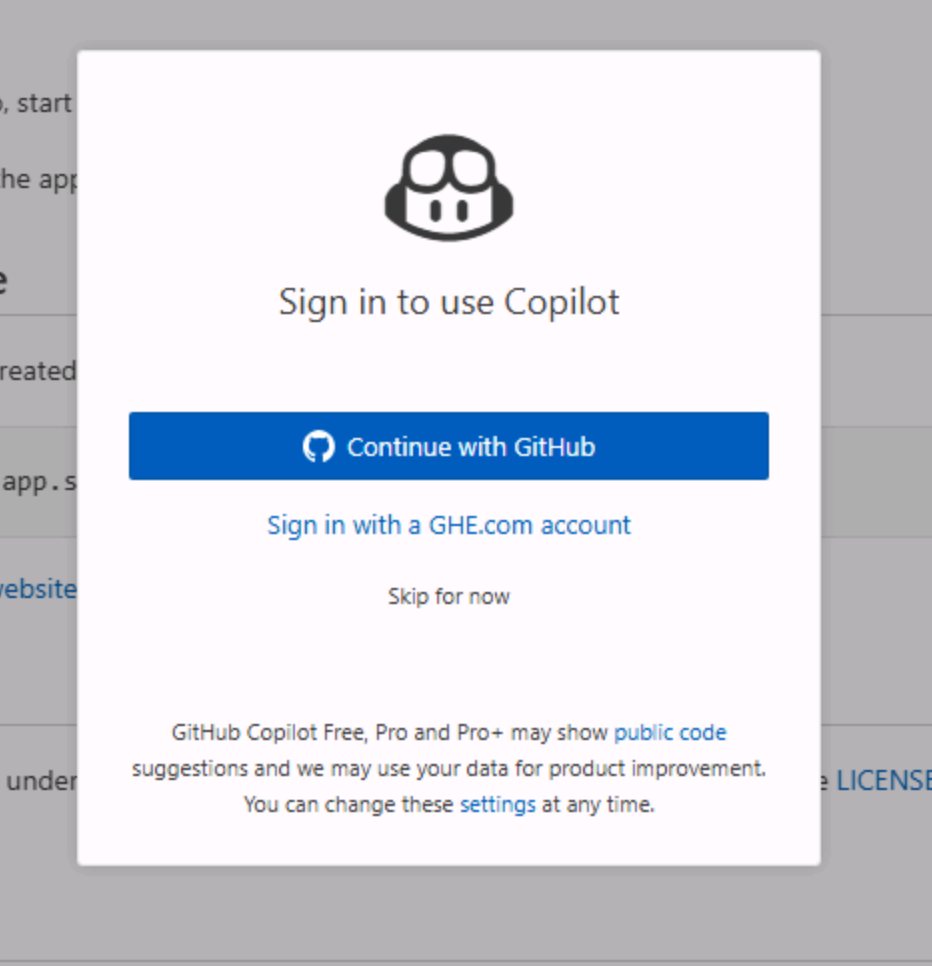
Alternatively, if you are not authenticated you will be prompted to sign in to your GitHub account. Follow the instructions to authenticate.
-
After authentication, you should see the Copilot Chat window appear.
Summary
Section titled “Summary”Congratulations, you have created a copy of the lab repository! You also began the creation process of your codespace, which you’ll use when you begin writing code.
Next step
Section titled “Next step”Let’s start putting Copilot to work. Continue to Exercise 1 - Custom instructions, where you’ll teach Copilot your project’s conventions.